| Things needed to accomplish this task * Flatbed scanner or camera with sufficient MP to be able to take photos of a single side of a die such that the FACE (not the photo) will be at least 500 pixels high *** I use an Epson V600 flatbed scanner * Image editing software capable of ** Straightening images ** Reducing the color quality to GREYSCALE and back to 8 bit color If you need a freeware program for this I recommend GIMP *** I use Corel Paint Shop Pro  | ||
| 1) | Flatbed scan (best) or photograph each side of the die to be identified Make sure that : ** The camera angle is perpendicular to the face being scanned / photographed ** The resolution sufficiently set so that once the photo of the face is cropped it will be at least 500 pixels (px) high | 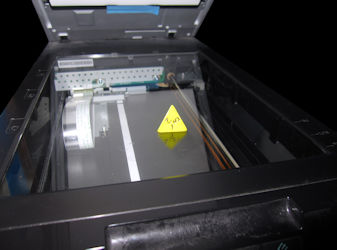 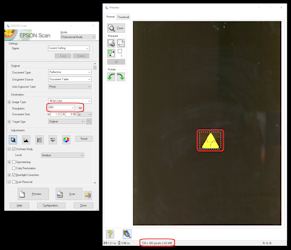 |
 | ||
| 2) | Combine all sides in a row in one photo |    |
 | ||
| 3) | Straighten each die in the photo |    |
 | ||
| 4) | Greyscale then raise the color back to 8 bit |    |
 | ||
| 5) | Align each of the faces with the bottom edge at the bottom of the photo |    |
 | ||
| 6) | Crop the photo to as close to the face height as possible NOTE: there will be a variance so take the average |    |
 | ||
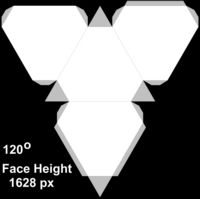
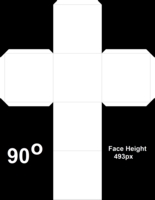
| 7) | Choose the appropriate template from this group | |
  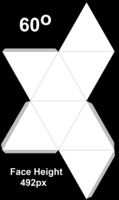 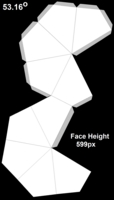  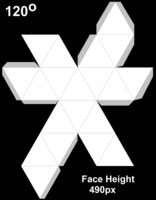 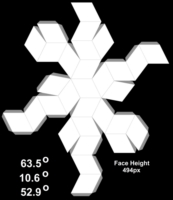 | ||
 | ||
| 8) | Resize the photo of the dice faces to fit within the size indicated in the template *** Be sure when saving the photo that you preserve the .PNG file extension | |
 | ||
| 9) | Using the degrees noted in the template Rotate each face and paste the numbers into the template in the proper orientation such that they would properly align if the template was printed ... folded ... and glued Crop or Contrast out any undesired background Note the sprue mark in RED ... if possible | 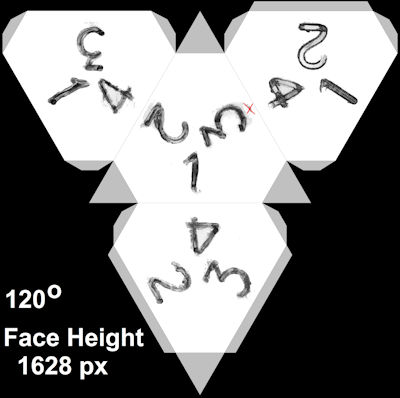 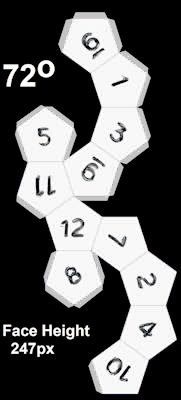 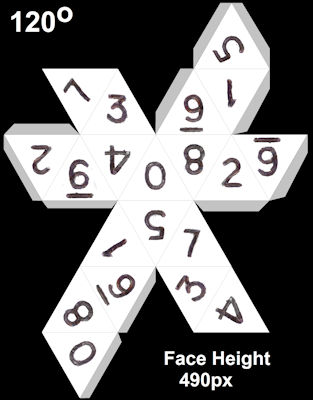 |
 | ||
| 10) | Remove the rotation degrees and face height | 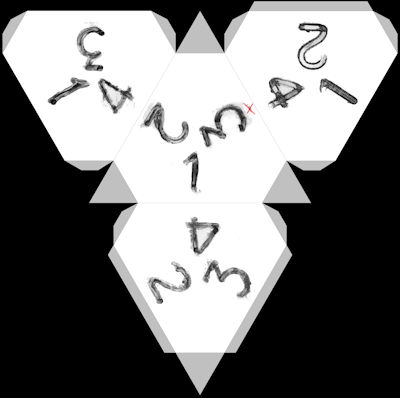 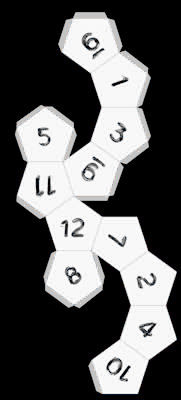 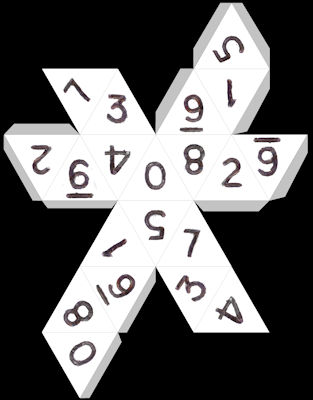 |
 | ||
| 11) | Rename the photo to a name that identifies the die In this case ... I named this photo diceinfo_layout_tsr_holmes_d4.png | |
